We must confess that our first trip itinerary included not only the Yucatan Peninsula but also Mexico City and other places like Oaxaca and Chiapas. However, when we started checking the distances on google maps, we realized it was not possible to do all of this in just two weeks. Mexico is a big country with many different regions and things to see and do. Unless you have unlimited time, you’ll probably have to make some decisions in order to avoid overpacking your trip with too many places to visit. With that said, we decided to stick to the Yucatan peninsula: not only it is a good place for a first trip to this country but also because we wanted to escape the cold Portuguese winter and spend some days on the beach.
At first, we weren’t sure if it was a good idea to rent a car and drive through Yucatan Peninsula on our own. But as soon as we realized it was safe and easy to do, it was a no-brainer! Having our rental car and being able to decide when and where to go has always been our favorite way to travel the world. We know it’s not all fun and games: renting a car can be a nightmare, and staying in more than one place does require some planning. That’s why we’ve decided to share our best tips with you, including how much time you should spend in each place! Here we go!

TIPS TO RENT A CAR IN Yucatan
Hidden fees and elaborated scams can give you a headache when renting a car. This is true in Mexico and pretty much in every country in the world. Here are our top tips for avoiding a bad experience:
- The main driver needs to present a credit card and the driving license.
- If you find deals as low as 6$ per day and think it’s too good to be true… you’re probably right. Some companies opt to put aside insurance coverage or other tax fees. And in case you’re wondering: yes, you need Mexican car insurance.
- Still about insurance, you might want to pay attention to this. For some Mexico car rentals, basic car rental insurance is mandatory and they won’t let you rent a car without it (even if they did, why would you?). However, the basic protection means you still have to leave a deposit associated with your credit card, and you won’t have a zero deductible*. If you can afford it and don’t mind the extra cost, going for full coverage is a good idea! No matter what you do, make sure you ask what’s not included in the price, as some things (like tires or car glass) might not be covered and you’ll have to pay for extra protection.
- Make sure you check if the car has any scratches, dents, or any other damages before you accept it. Usually, someone from the car rental company will do that with you.
- Don’t be surprised if you get an old car with some stains on the backseat or scratches on the glass. We had never rented a car in such a poor condition during our road trips, which left us a little disappointed. However, we soon realized it is the best way to keep a low profile as a better car would definitely be a show off on the streets.
- Read the small letters. All-of-them
- Beware of Topes! We read this everywhere, and it is true. They are everywhere and are huge!
- Choose the paid toll roads. Not only are they considered safer, but also faster and in better conditions.
- Always have cash with you as some places did not accept our credit cards to pay for the tolls. Also, we were advised to always pay in cash at gas stations to avoid scams and card cloning. Not sure if it is true, but we decided to follow it.
- Bribes can be a common thing, even though we were lucky enough it didn’t happen to us. The police can pull you over and ask for a payment in order to avoid a fine. Some friends of ours got away by being friendly and talking in Spanish, while others just paid them so they wouldn’t bother them.
- Avoid driving at night. Again, because of topes and general safety. We used the car sometimes to go to dinner or for short distances and didn’t feel it was dangerous, but we wouldn’t make a long trip after dark.
*zero deductible means you won’t have to pay anything in case something happens. Imagine you have a 1000$ deductible. If you damage the car and it costs 1200$ to repair it, you still have to pay 1000$ and the insurance only pays the 200$.


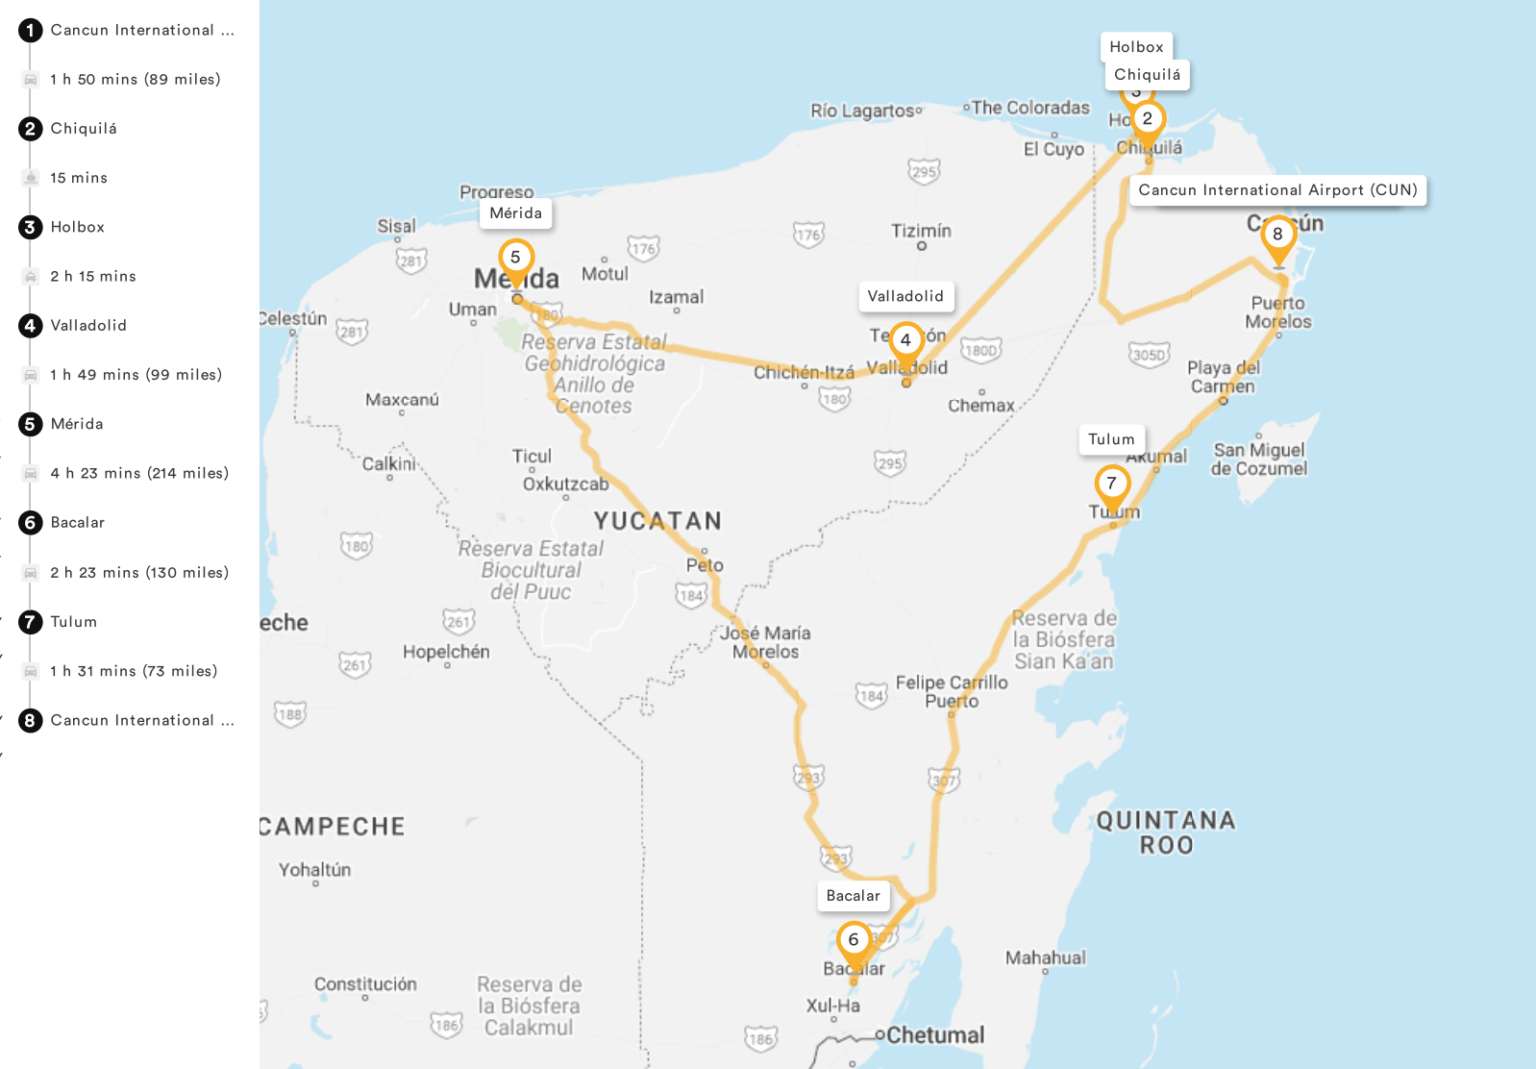
ITINERARY for 2 Weeks
↠ 1 night in Cancun (arrival day)
↠ 3 Nights in Holbox
↠ 2 nights in Valladolid
↠ 2 nights in Merida
↠ 2 nights in Bacalar
↠ 3 nights in Tulum
DAY 1: We arrived in Cancun late at night. We decided to pick up our rental car and drive to our guesthouse which was about 15 minutes away from the airport. We could’ve picked up our rental car the next day, but that would involve spending money on two cab drives, so we decided it was not worth it. However, if you’re thinking about doing the same, we advise you to plan everything before arriving: make sure the rental company has your flight number and that they will be waiting for you even if there’s some delay. To arrive somewhere new during the night can be sketchy. If you’re not feeling comfortable, go straight to your hotel, and you’ll deal with that on the next day.
DAY 2, 3 and 4: We woke up in Cancun and had planned to go straight to Holbox that day. Cancun is definitely not our style, with tall buildings on the beach and many tourists looking for the “all-inclusive” type of vacation. We wandered around for a little bit, visiting Mercado 23 and going to the Zona Hotelera to check what the fuzz was all about. Personally, we say you can skip it and just drive to Chiquila to catch the ferry to Holbox. The journey is very straightforward and has taken us around 2 hours.
We’ve spent 4 days/ 3 nights in Holbox, and it was the perfect amount of time. We were looking forward to taking it easy and not jumping from one destination to another, and we felt Holbox was the absolute perfect place to start our trip. This small island is full of boho vibes, delicious food, and a very laid-back atmosphere. Check out the best things you need to do while there on our blog post.
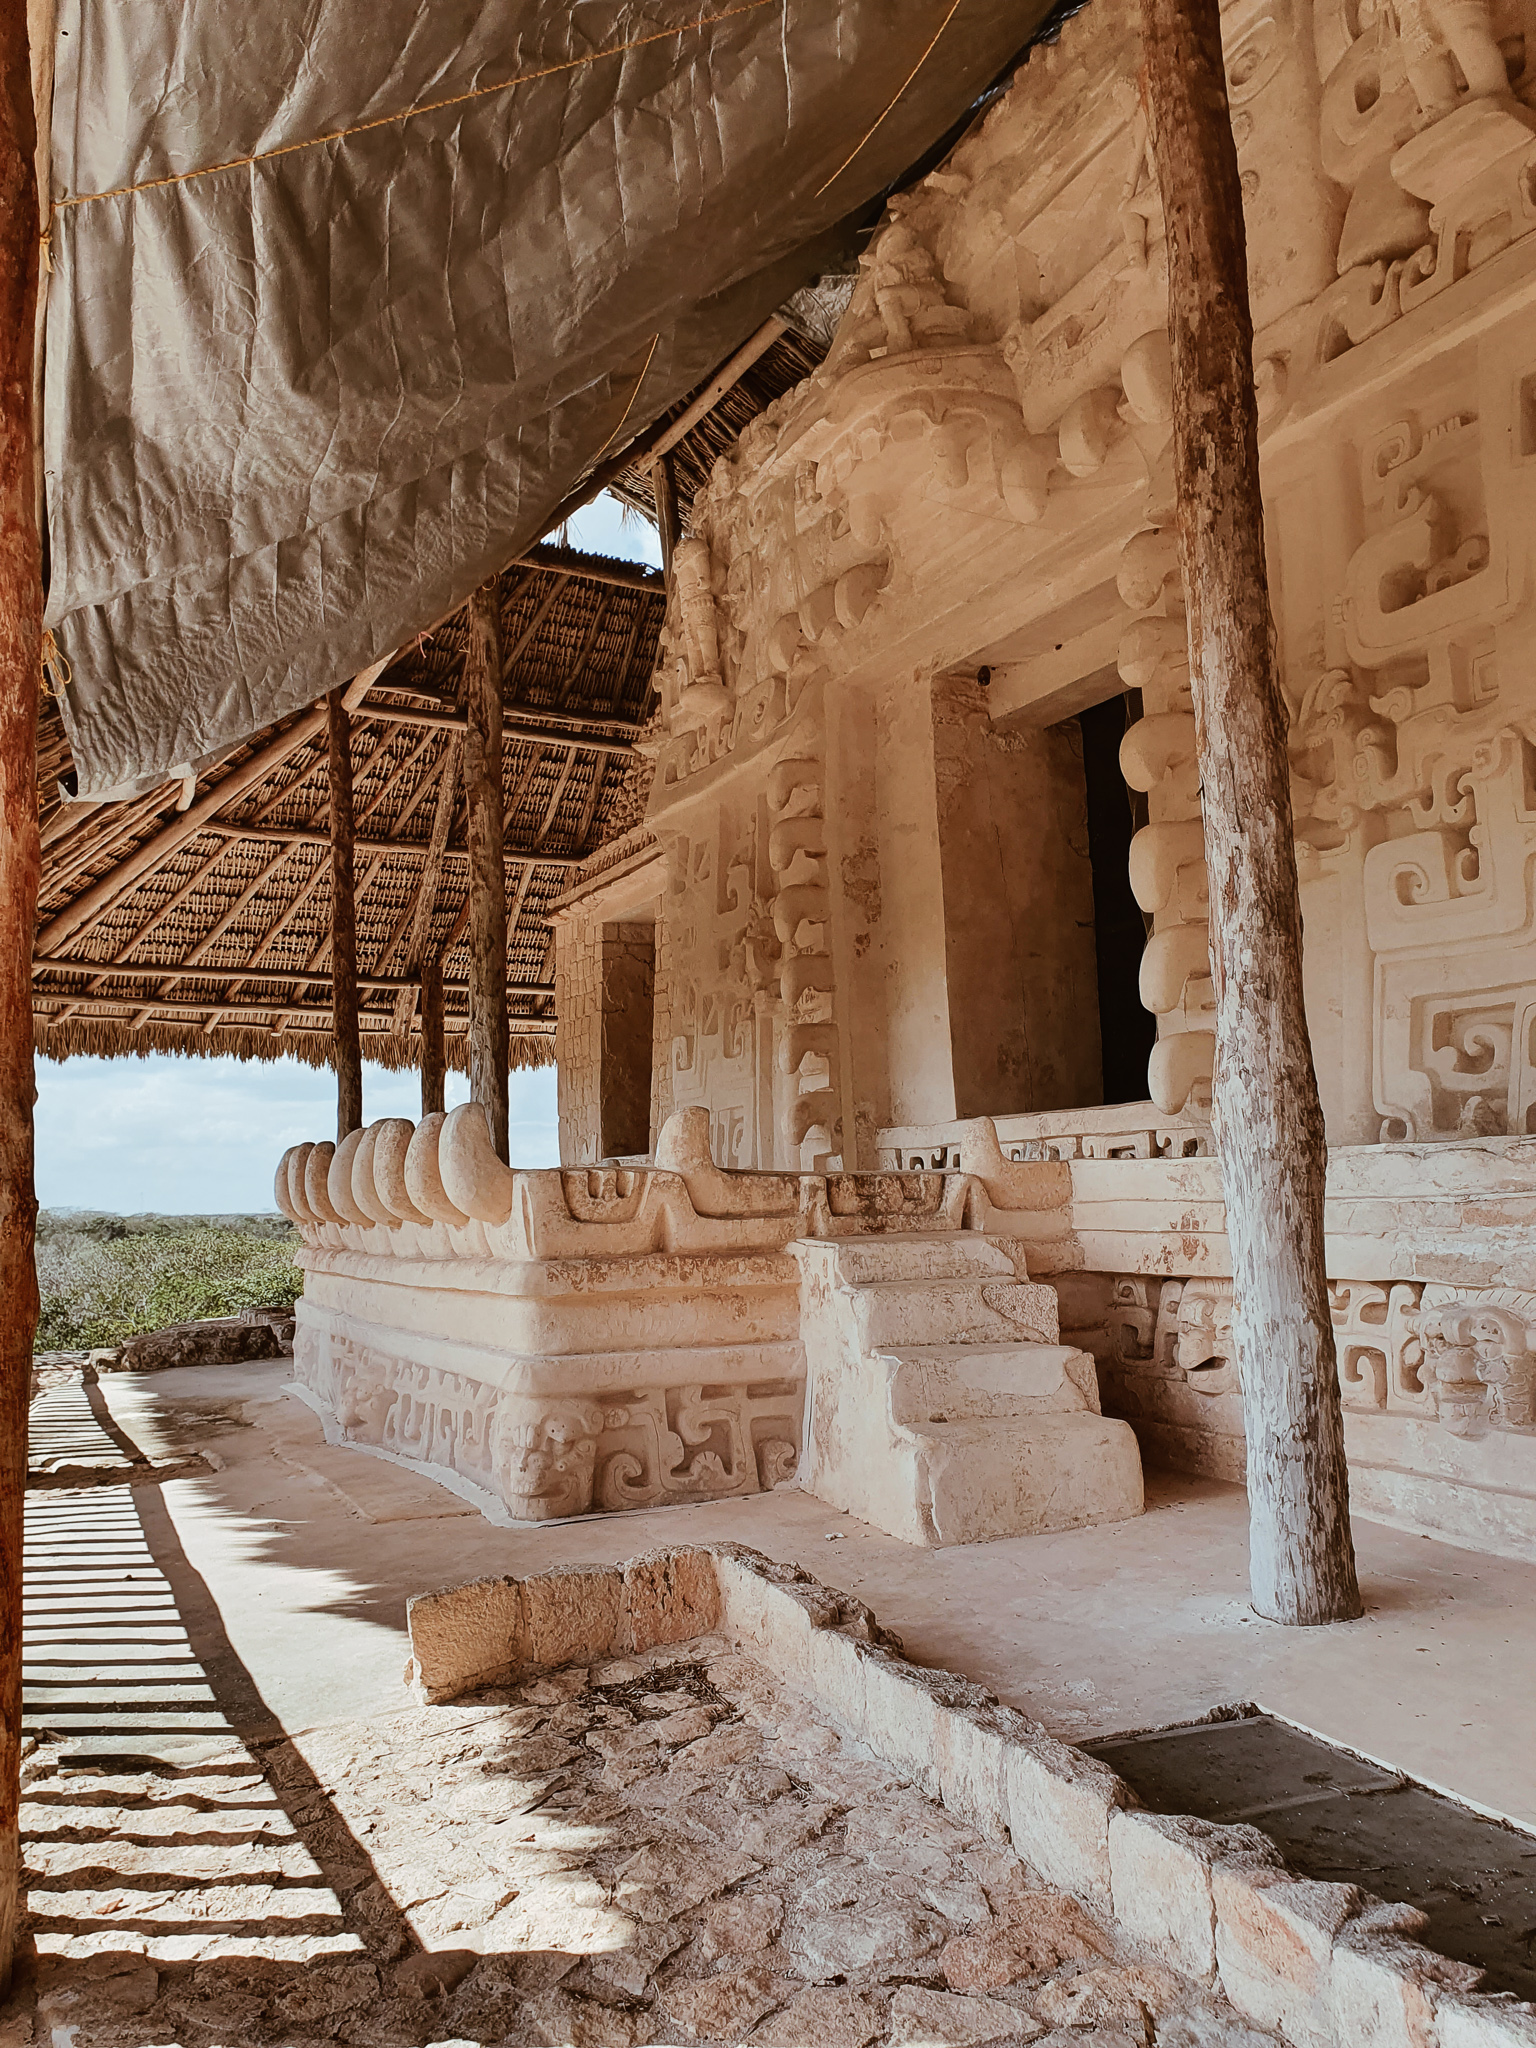
DAY 5: We left Holbox around lunchtime and picked up our car in Chiquila to go to the next stop. Before arriving at Espita, where we were going to sleep for the next couple of nights, we decided to make a quick stop at Ek Balam. The tickets were not cheap, but we are so glad we went there! Visiting the ruins of Ek Balam is a completely different experience than going to Chichen Itza. There were no crowds, you can still climb the ruins, and you will find yourself in the middle of the Mayan jungle. It has a more secluded, ancient feeling, and you can also go to the Cenote Xcanche which is located on the same site.
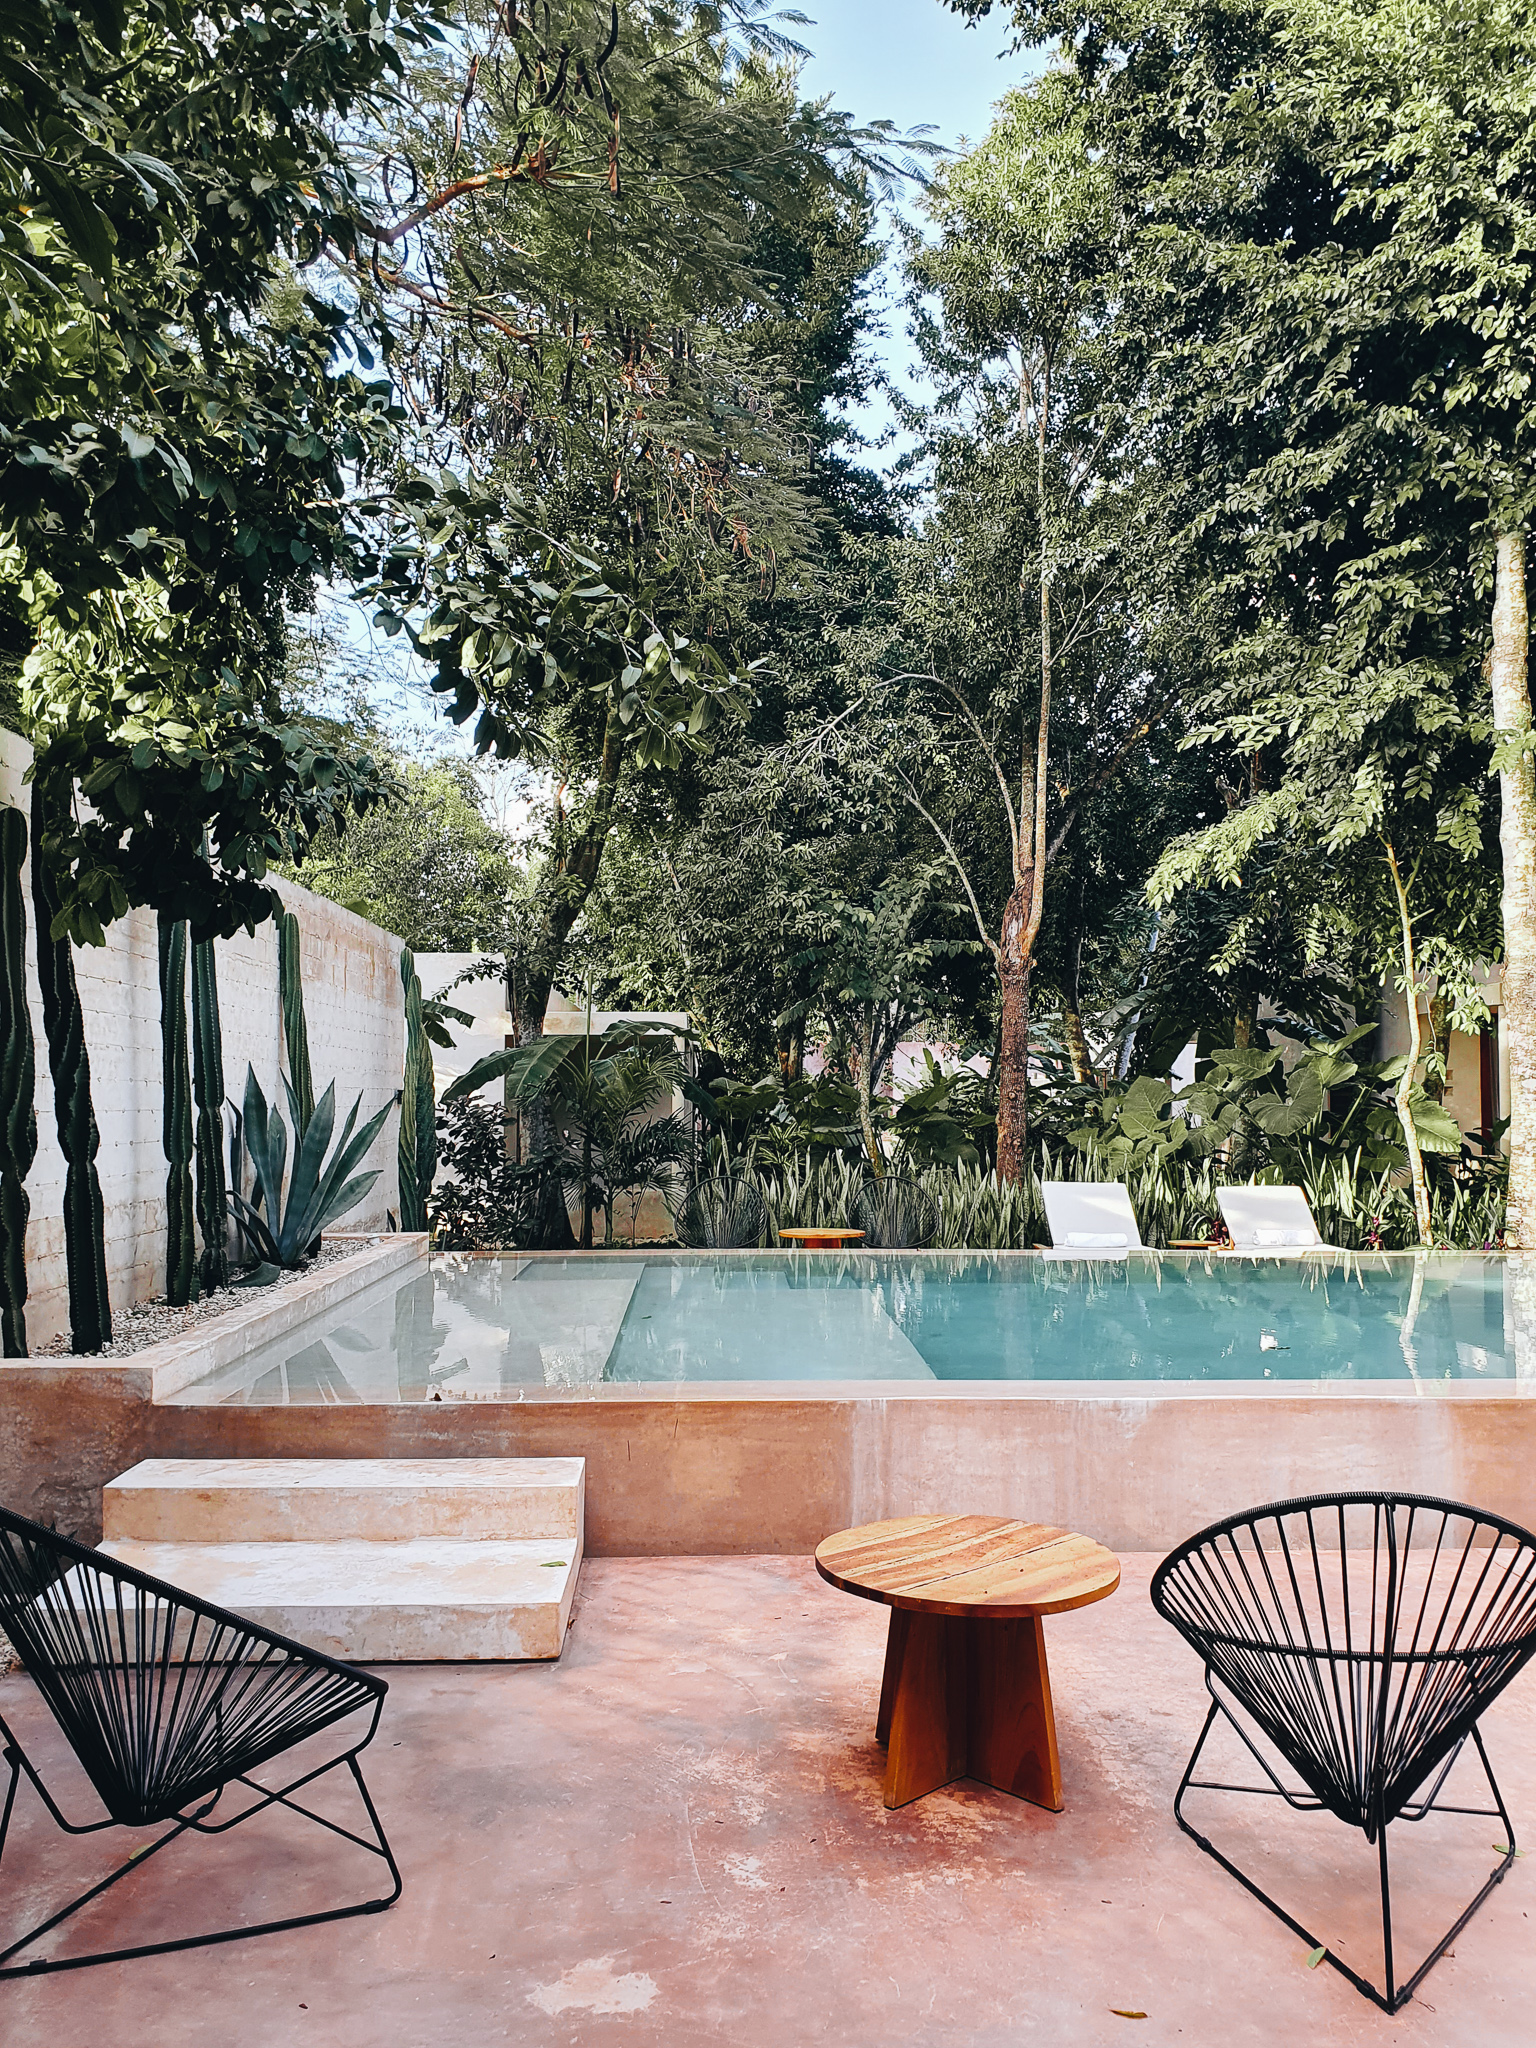
We then checked-in, and had dinner at Casona Los Cedros, in Espita. Despite being around 40 minutes away from Valladolid, we cannot imagine having stayed anywhere else. It’s a magical place that we can highly recommend!
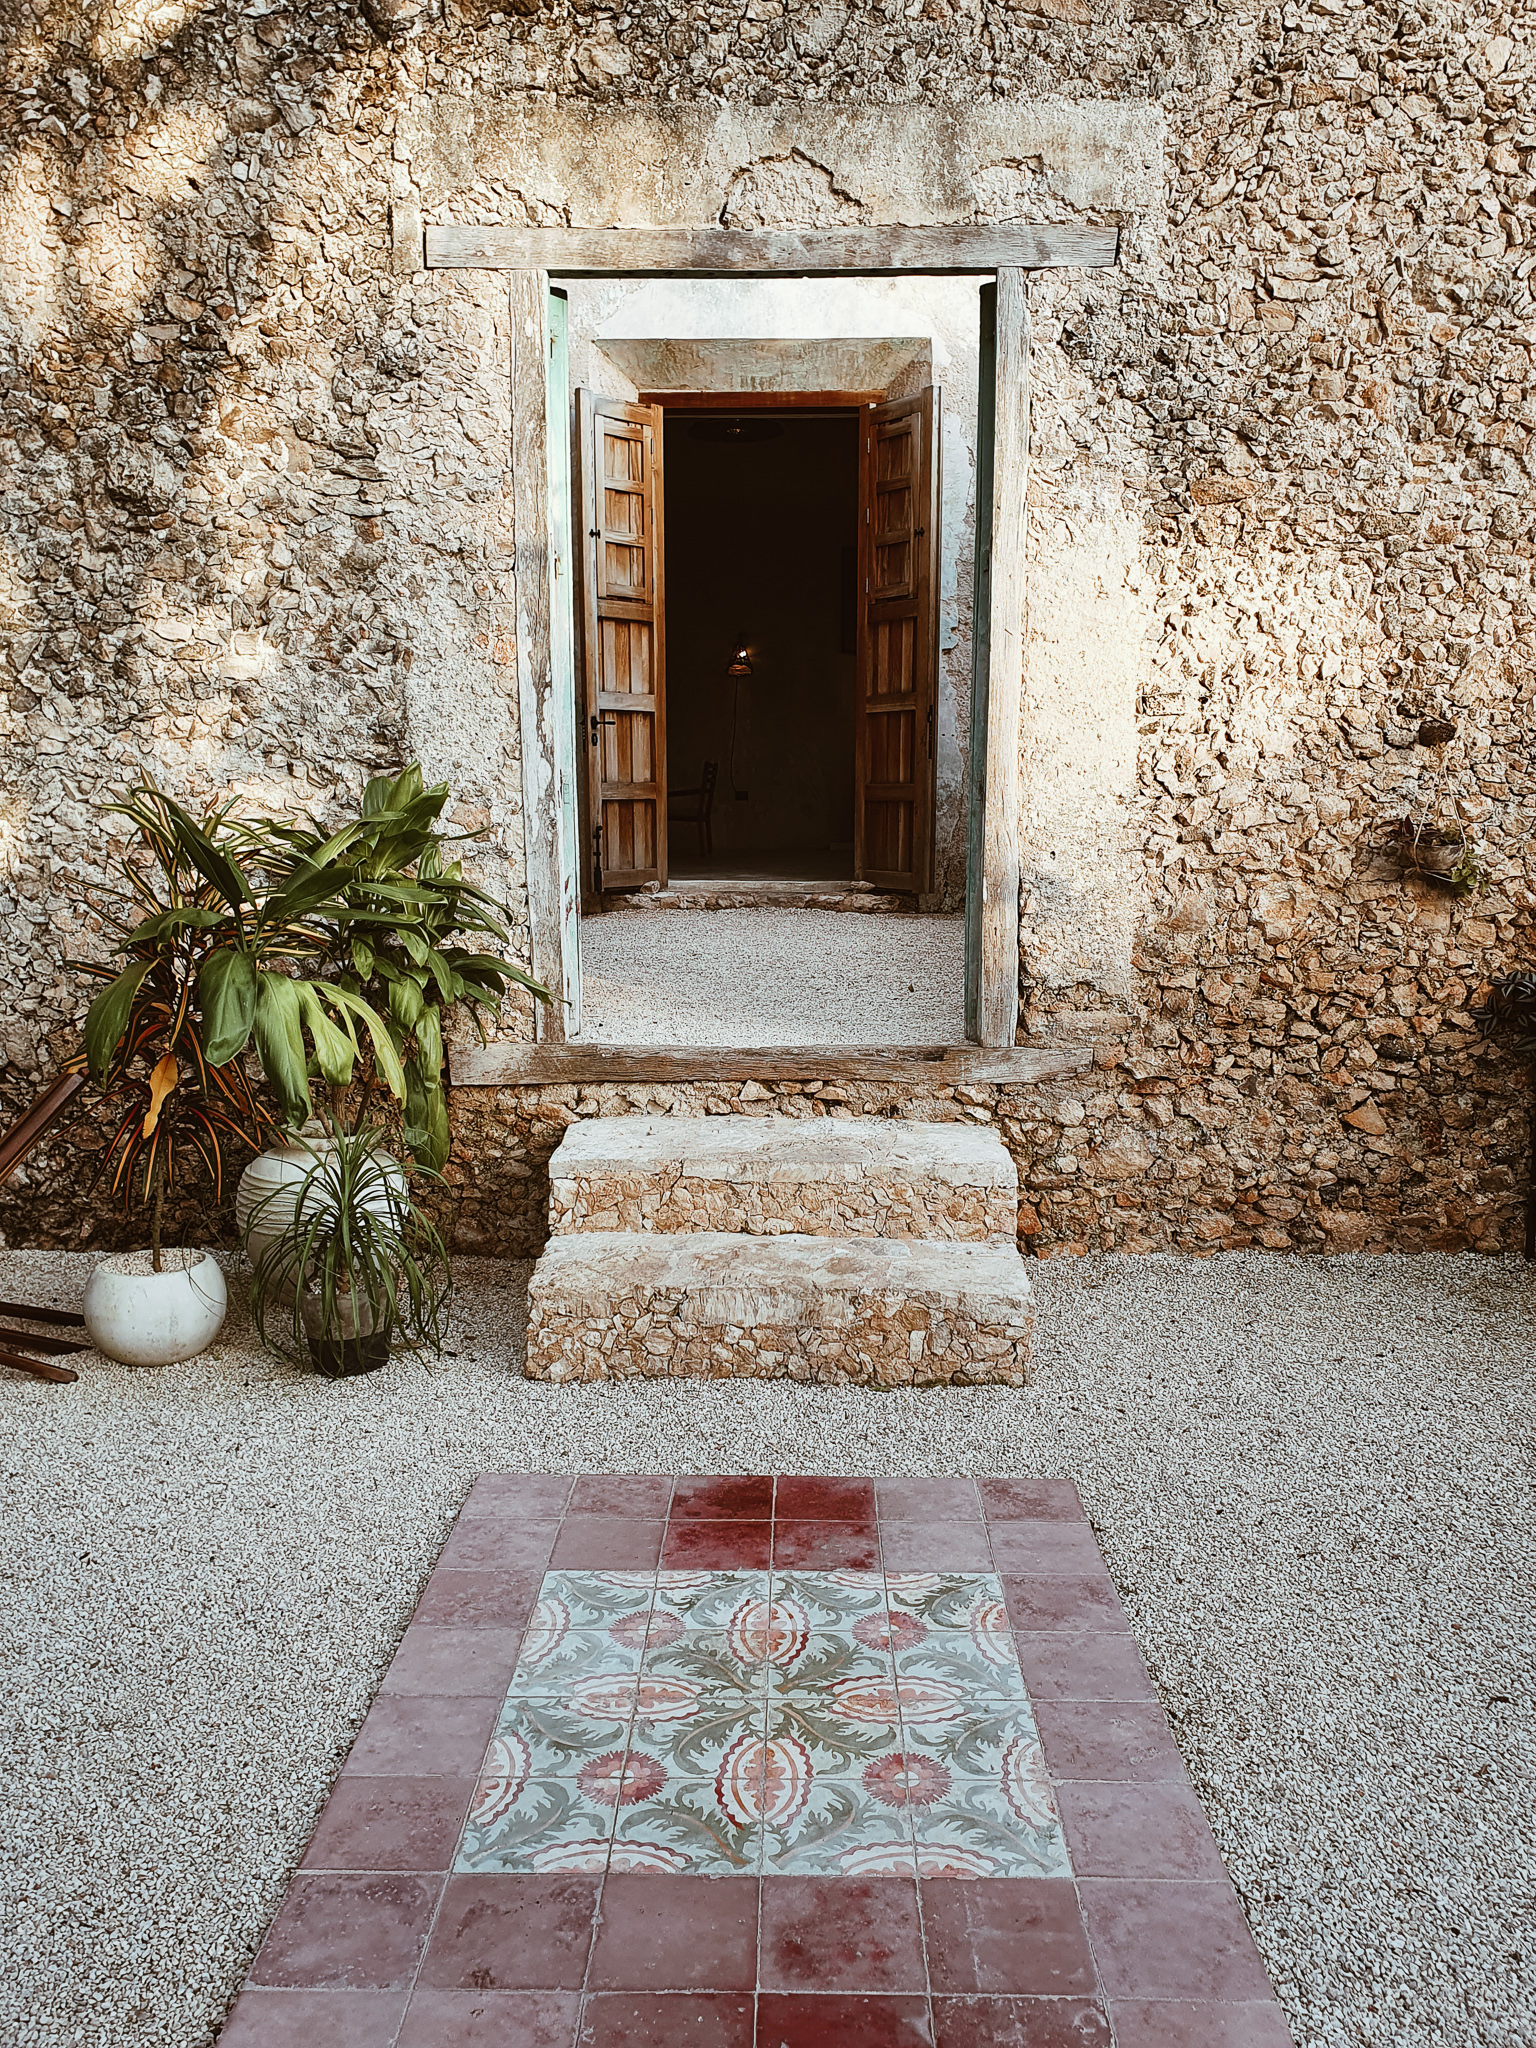
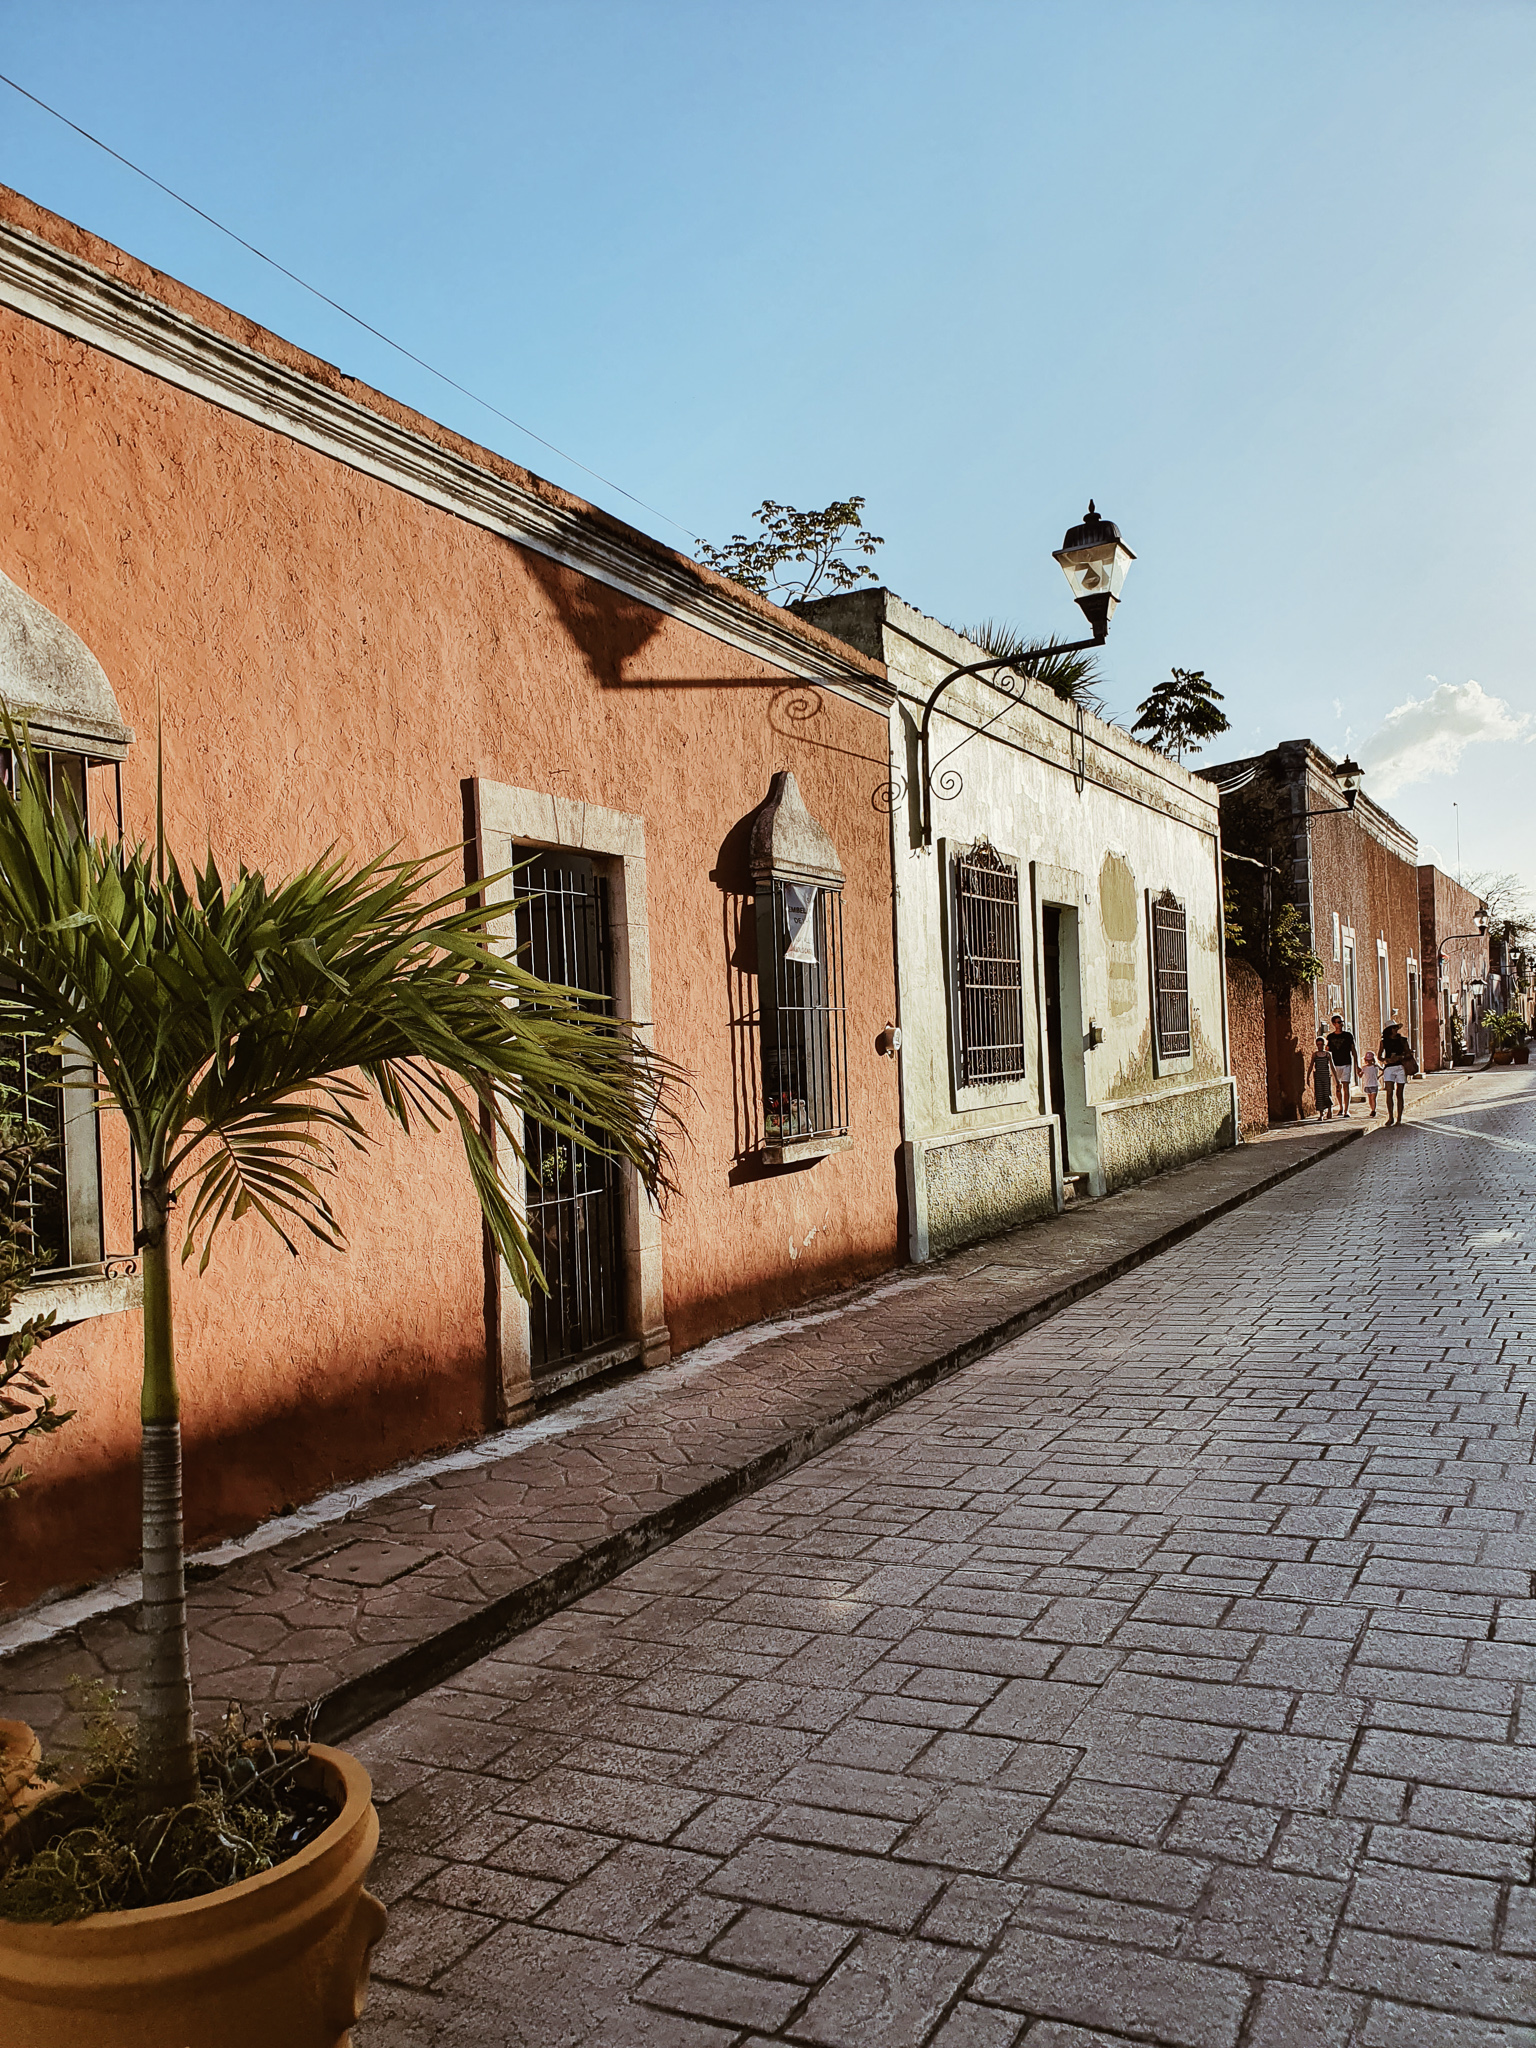

DAY 6: The area of Valladolid serves as a perfect base to explore many Cenotes, ruins, and other day trips. We recommend you stay at least two nights to visit not only the city itself but also some of the amazing natural wonders that surround it. The yellow town of Izamal, the cenotes of Sac-Aua, Palomitas, Suytun, and the famous ruins of Chichen Itza are just some examples of what you can find on a short distance from Valladolid.
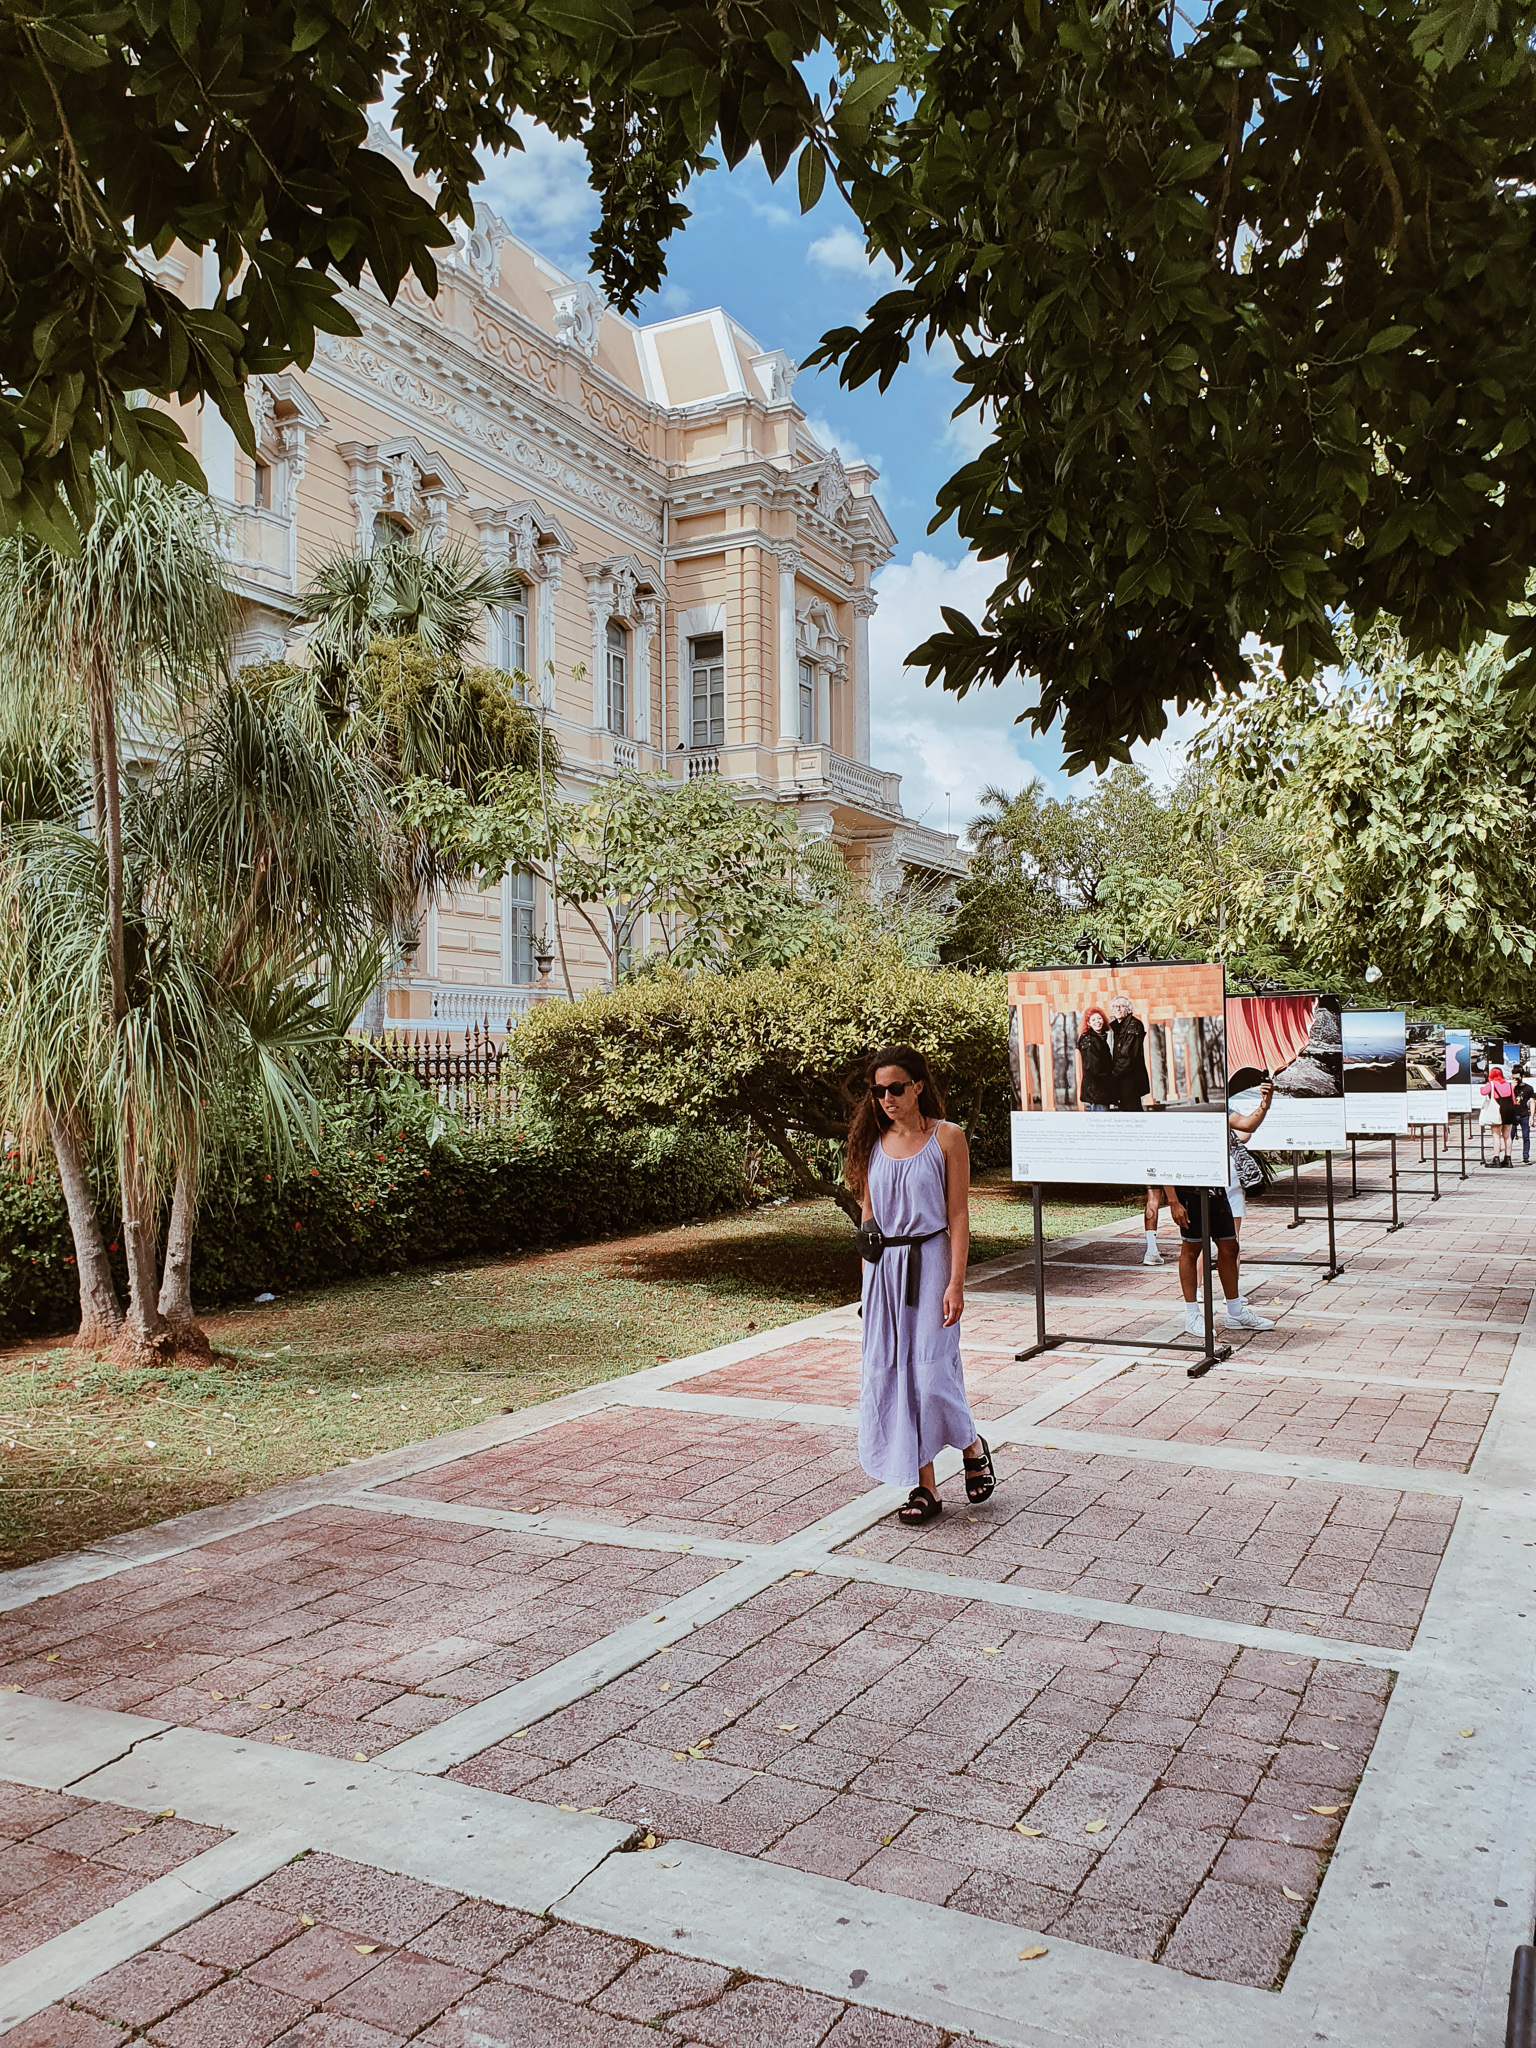
On this day, we explored many Cenotes and spent the afternoon wandering around the beautiful streets of Valladolid. The town is smaller than what we had imagined, so you should be able to check the main spots in half day. Don’t forget to walk down the trendy Calzada de Los Frailes.
DAY 7 and 8: After our two nights in Espita, we couldn’t be more excited about our upcoming stay in Casa Vagantes in Merida. On our way to the city, we visited one of the new 7 Wonders of the World: Chichen Itza. Yes, it gets crowded and is a very (very!!) touristic place. But it was our chance to see it with our own eyes, and it was totally worth it! To avoid the day tours, plan to arrive there either early in the morning or right before it closes. Also, we recommend you pay for a guide to get to know all the history and interesting facts behind it.
Getting to Merida is an easy 2 hours drive from Valladolid. We were not expecting Merida to be the big city it is. You have tons of options to spend your days there, but we wouldn’t stay more than two. After all, we went to Mexico for its natural landscapes, beaches, and smaller towns. Read all about our stay in Casa Vagantes – the perfect place for your visit!
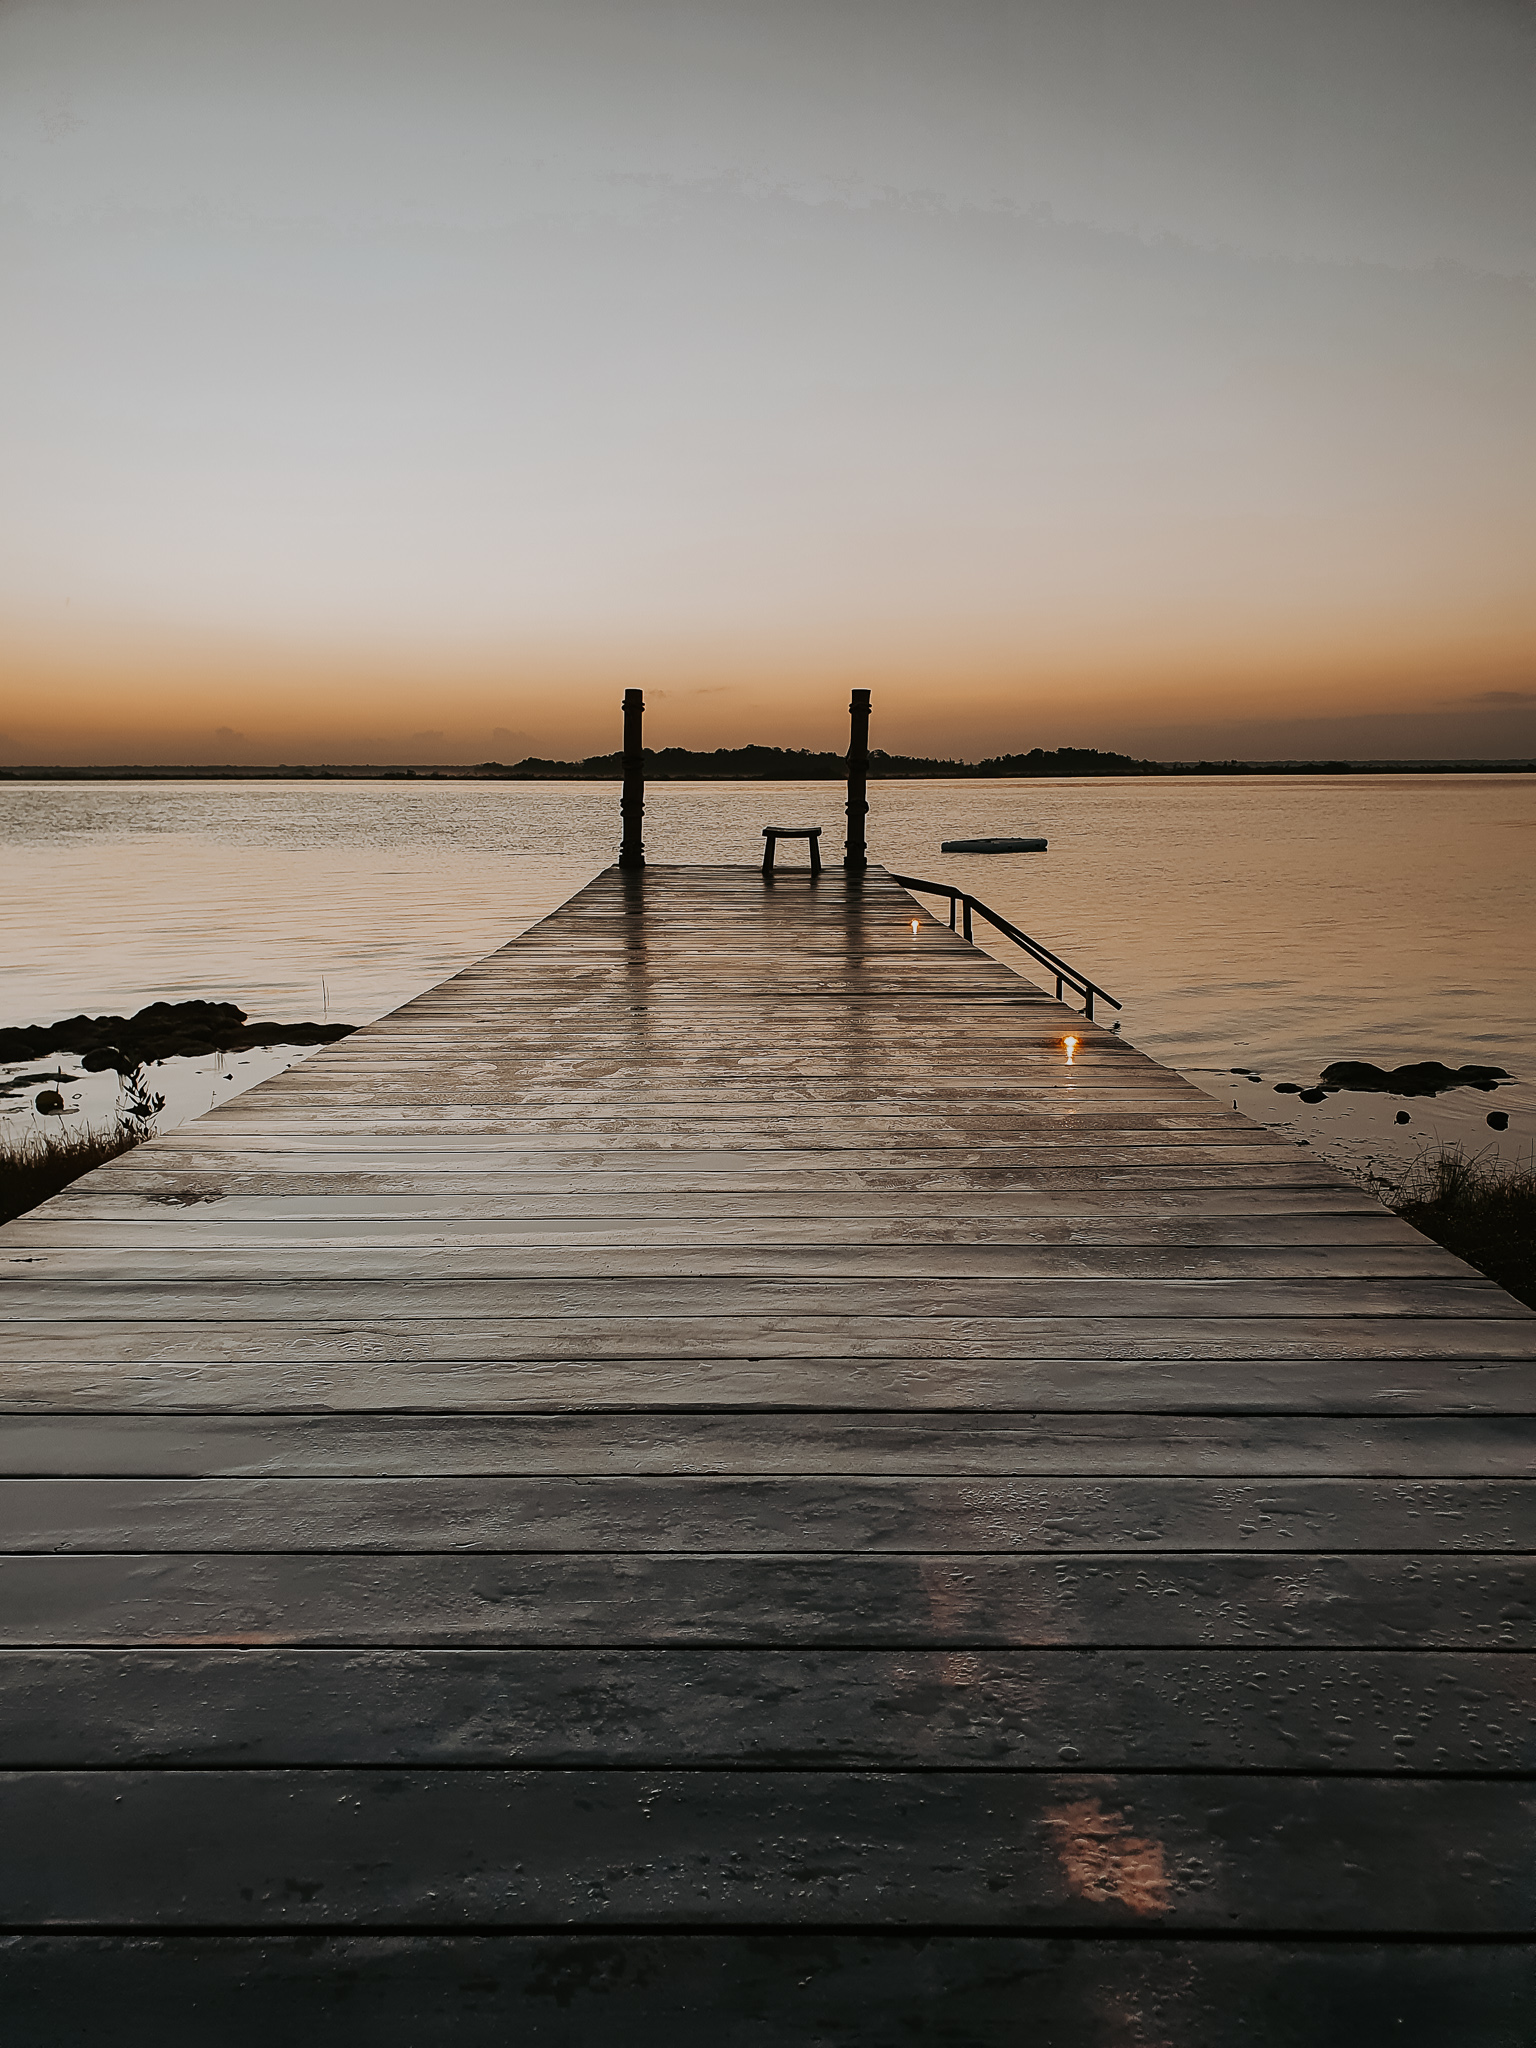
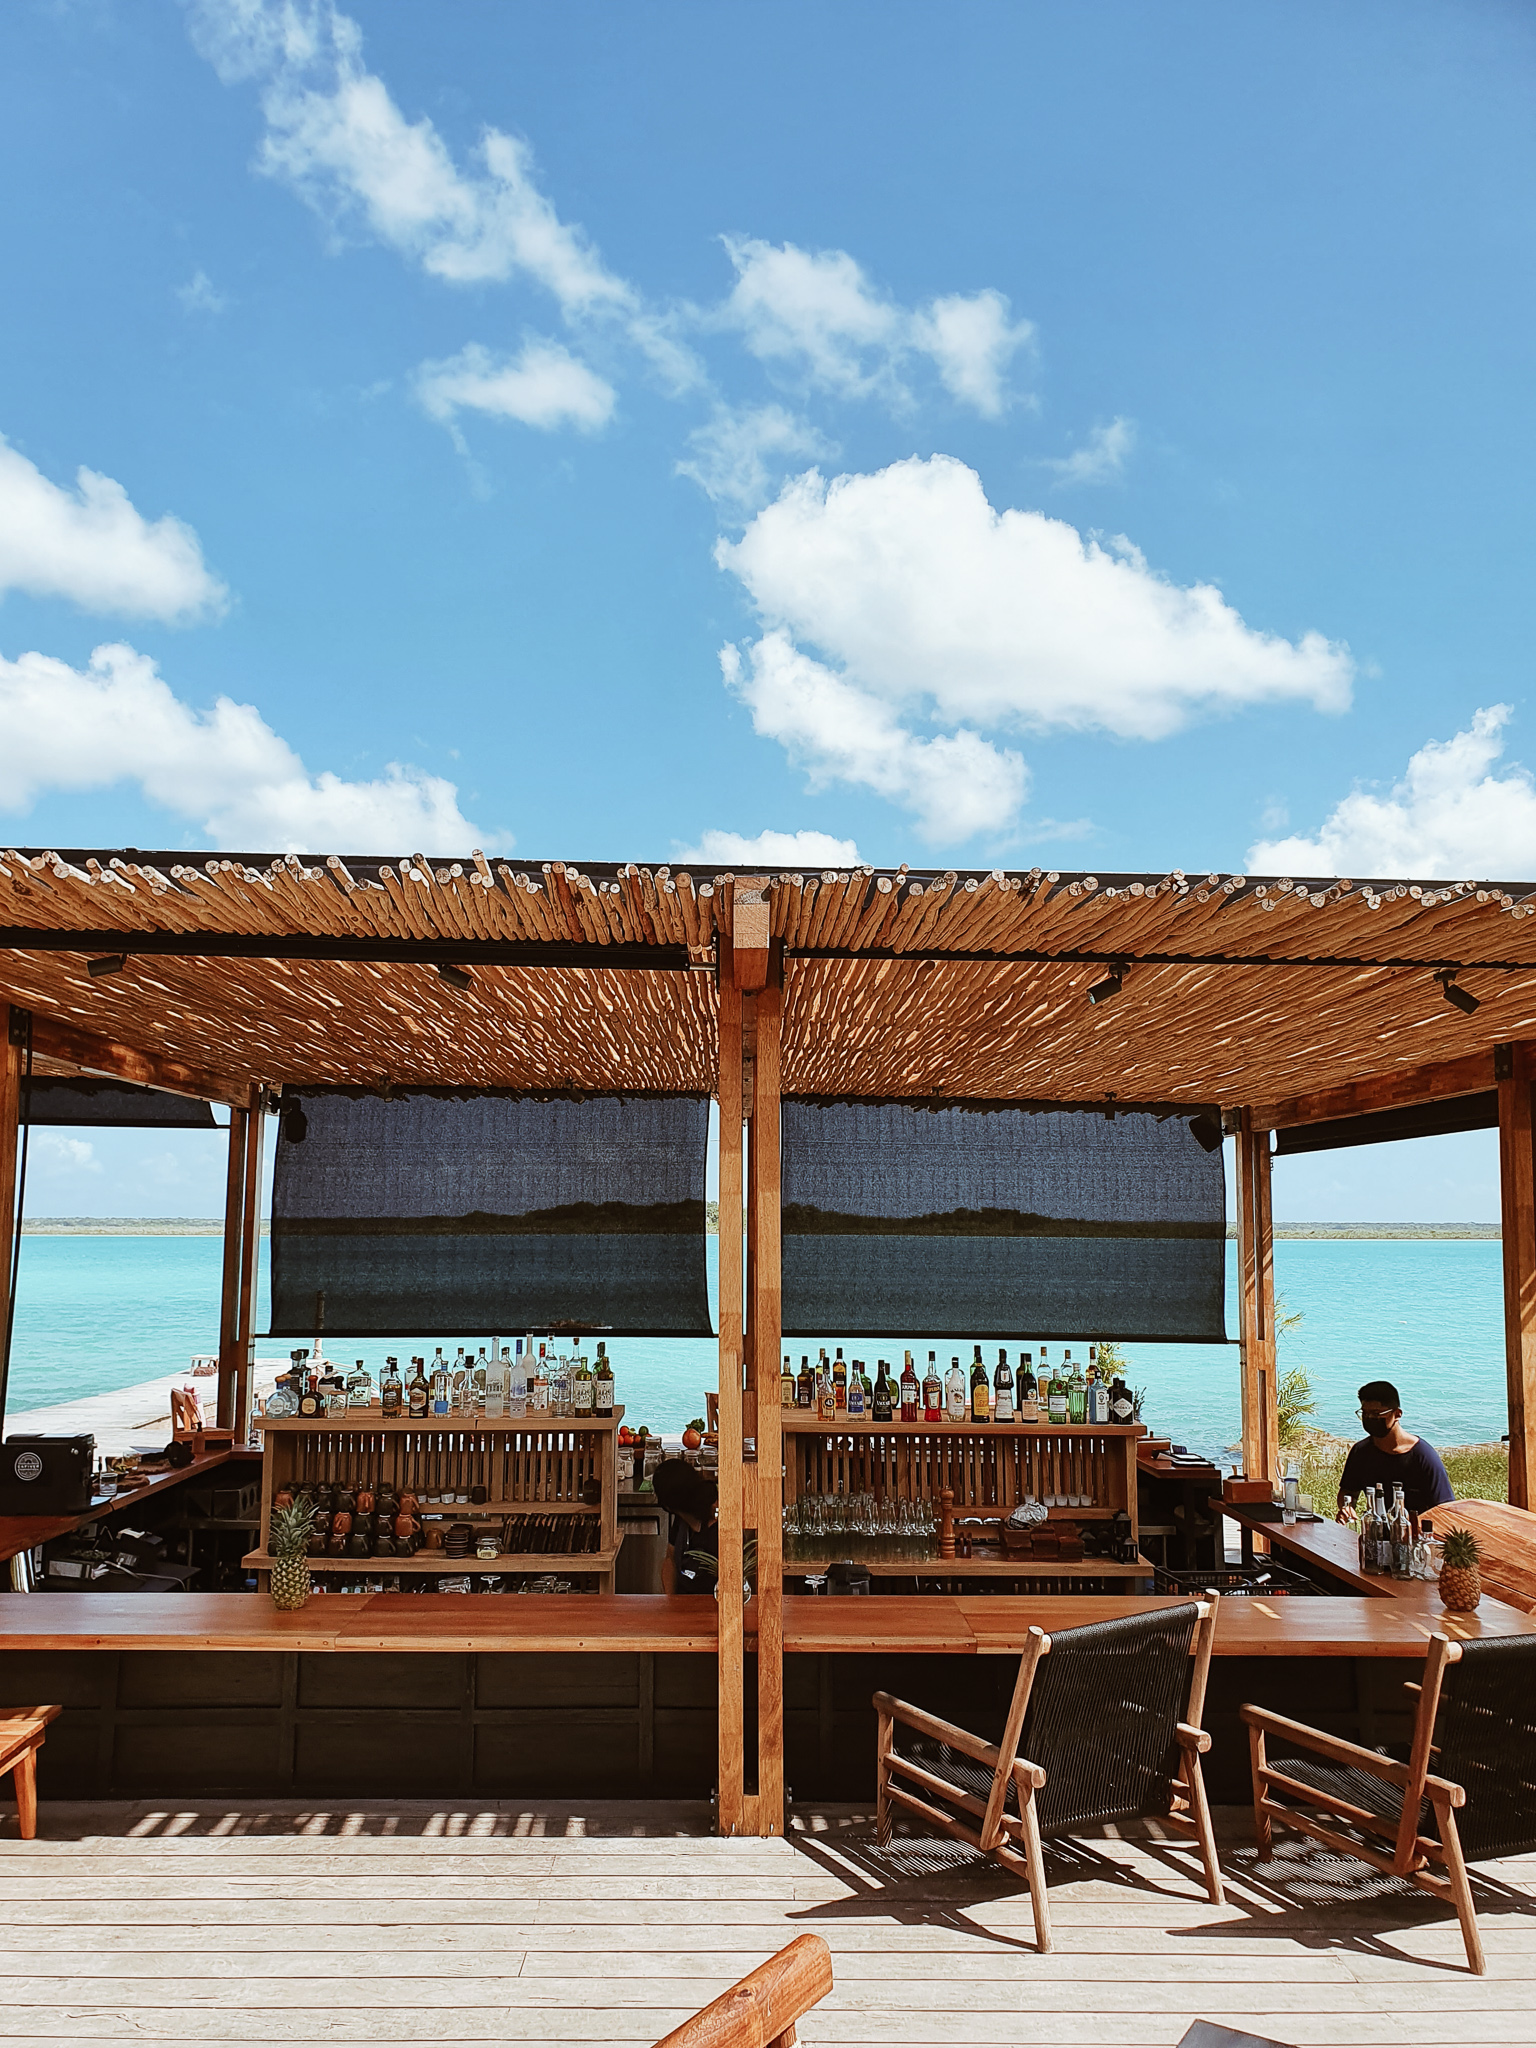
DAY 9 and 10: Next stop: Bacalar! If you have never heard of this place, try to google it and check some pictures. You’re already convinced, right? Bacalar is a true gem in the Yucatan Peninsula, some considering it the “Maldives of Mexico”. Although it might be a little detour from your road trip itinerary, you should 100% go there and see those blue waters for yourself! We spent two nights there and wrote a blog post about why you should too!
DAY 11, 12 and 13: Our final destination was Tulum, where we spent our last three nights (and stayed on this amazing place!). We have mixed feelings about this “instagramable heaven” which you can read about here. Nevertheless, there’s no denying that it is a vibrant place, filled with trendy restaurants, marvelous hotels, and many, many things to do. We could have spent a whole week there and not get bored! Unfortunately, it was time to head back home and our trip had to come to an end!
If you have more time
We can’t wait to go back to Mexico and explore more places. If you have just a couple of days and don’t know what to do, don’t worry! We got you covered.
More Places to Visit IN Yucatan Peninsula
- Las Coloradas
- Isla Mujeres
- Uxmal
- Celestún
- Mahahual
- Coba ruins
More Places to Visit OUtside Yucatan Peninsula
Unless you have unlimited time to drive there, these places will probably require you to catch a flight.
- Mexico City
- Oaxaca
- Copper Canyon
- Sumidero Canyon
- Palenque
- Todos Santos
- Teotihuacan
- Puerto Escondido
- …Honestly, we could do this for hours. Writing this list is making us want to book the next flight

Add a Comment